Friday, January 21, 2011

My Fancy Little Clock

I wanted to break up all of these organizing posts with a little something creative that I have done lately... My Fancy (and cheap) Clock!

Back when we were first moving into this house, we took that necessary trip down to Ikea with my parents, their suburban, and trailer, plus all four of my kids in tow. It was a crazy trip in good ways and bad and a reminder of why I don't live closer and go there more. But one of the things that I really wanted to pick up was this Ruche wall clock that I had seen altered on the American Crafts blog. And for only $1.99, how could I not pick one up and at least try to create something a little cuter? So I did and 3 months later I finally got around to playing with it! Here is what I did with this little clock and it will go in our Master Bathroom because I have no idea what time it is when I am in there getting ready!
I used the American Crafts rub-ons from the Blue Skies line which has been one of my absolute favorite collections of theirs. Our bathroom is brown and that same blue so these worked perfectly. I had a little bit of trouble getting this thing apart to figure out how to get it apart without breaking it but I love how it came out. I also used brown glitter thickers and had to glue them down to make sure that they would stay for a long time. Now I just need to get a battery in it and hang it up so everyday can start off a happy day!

Thursday, January 20, 2011

My Expedit Bookcase

Here is a look at my Expedit Shelves from Ikea. I absolutely love these things and if I could have fit the bigger one, I would have! This one was only about $129. And you can barely see it here but I painted behind the shelves the same green that is in those polka dot cube bins. I had it matched at Home Depot along with the berry color that you will see later on the opposite wall.
Here is where I keep ALL of my American Crafts Thickers... yes, I am a little obsessed! I think by now I have over 50 sets. I made that orange thing in the front so that the front set of Thickers would no longe bend over the front, it was driving me crazy! So I took a piece of chipboard and cut it to the right size, painted it orange and then added some fun embellishments including Thickers!
Here is where I keep my other letter stickers. These bins I got at Target in the dollar section. I love that section!
In these two spaces I keep my Sizzix Big Shot (which my son Gabriel is always sneaking in just to turn the handle), and next to it is a bin that holds all of my cutting pads and dies for the sizzix.
I picked up these jars at Ikea for super cheap and I love them! I store everything from special stamps to some of my American Crafts chipboard and Bits tags to the two sizes of shipping tags that I picked up at OfficeMax. And in the back is a jar just for the scalloped circle dictionary papers that I cut out to make dictionary flowers.
All of these polka dot bins are from Target and I fell in love with the colors. This is a half bin that I store all of my stamps in. I love being able to see them and easily access them too.

I also have the deeper bins for things like gift albums that I keep on hand to put together and my daughters' scrapbook supplies. That way when they want to scrapbook, they just have to grab the bin and everything they need is there. All of my magazines are stored in two of the squares along with other idea books. And that is pretty much everything!

Wednesday, January 19, 2011

Organizing Paper

Paper is of course the staple for scrapbookers and it is often the thing that we hoard yet get so much of that we can't find a sheet to save our life. There are many different ways to organize paper based on how you use it and how much of it you have. This is how I have found storing paper works for me. In my previous room it was all together but I needed the extra cubes to support my extra countertop so they had to be moved. Here is where the majority of my paper is...
These cubes are the big ones that I ordered from Oriental Trading Company. They are sturdy and a really good quality. I am considering getting the dividers so that I can store my cardstock over here again, but I'm debating. Organization is something that needs to evolve with you and your space and because I have only been in this room for a few months I am still figuring it out. The top cube is for my cricut and silhouette supplies including my vinyl. That cube isn't very pretty and now that I look at it, I should move all of that! The one under my printer is all of my printer papers, this works very nicely to have them so close. And that bottom one is my in-process albums. All We R Memory Keepers 3-ring binder faux leather albums that I now get on Amazon.
Here is a close up of that middle cube. I use these Cropper Hopper 12x12 vertical paper holders and I need to get one more. This is where all of my everyday patterned papers go and they are organized by manufacturer because that is how I see papers, by who made them. American Crafts and Echo Park are also divided by collection because I have so much of their products.
Right below my everyday paper is the pull out file drawer that holds all of my scraps. I love my scraps all being here separated in hanging files by color. In the back is one for all patterned paper and then one just for American Crafts papers because I go to those a lot especially for cards.
In the middle of my countertop right in between my two work stations is the two cubes that hold all of my cardstock. I do like having it right next to me and yet I kind of miss it being with the other papers. I told you, I'm still debating.
Lastly, in my closet on the bottom left there is this sterilite unit from Target. I really need to get another one but haven't gotten around to that yet. These boxes actually come out and have lids so they are not just drawers. This is where all of my theme based products are. The top two have several subjects in them and that is why I need another set of these. Everything from New Years, Valentines, St. Patricks, Birthday, Baby, School, Fall, Halloween, and Christmas are all in here. That way when I need to scrap that subject I just pull out the box and take it over to my work station. I love it!
Well, there is a peek into how I organize all of my paper in my room. If I think of something better, I will be sure to share!

Tuesday, January 18, 2011

Storing My MM Slice

It seems like somewhere on people's calendars it is written that this is Organizing Week. It is no where to be found on my calendar but it is everywhere I look right now. So I decided to go with the flow and make it Organizing Week here on my blog too! It only seems to fit, right? I often get asked how I organize all of my scrap supplies and some have said that I should charge admission for tours of my room! haha... maybe I will when it is finished but for right now you are not going to be seeing full pictures of my room until I get a couple more things done because the Disney Princess sheet that is currently tacked over my window is embarrassing! I have a plan for a curtain I just have to buy the stuff and jump in, and get the last 3 feet of my countertop installed then I will be showing off my room to anyone that walks in the door.

Today I will share with you where I store my Making Memories Slice Elite. One, because I LOVE this thing and use it all the time. And two, because I just got the unit that I am storing it in and I am so excited about it.
I found this piece at an awesome little antique store in Hesperia that my friend and I found and have fallen in love with. I would tell you where it is but then you would probably go there and take all of the good stuff! I saw this piece and immediately fell in love with it and knew that it was destined to house my sweet little slice machine and then I saw the price tag... $19.95! That was it, it was a done deal.
Here it is open and I can't tell you how perfectly everything fits. The tools case was a little snug but those dividers slide out really easily. My spray adhesive even sits right next to the machine and you saw in the earlier picture that I keep my slice inspirations recipe box and the cute little squeezie slice I bought on ebay sitting there on top along with my box of current pictures. What I love most about this desk organizer is that the door slides down and I can keep the dust and stuff off of it.
Here is the drawer opened. This is a very nice, big drawer that holds my embossing tips, drawing tips, wrench, blades extra glue and brush and the button that I received last year. Needless to say I LOVE IT!
So there is one little piece of my room and the newest addition. Tomorrow I will show you some more fun stuff and how I organize it!

Monday, January 17, 2011

Some Christmas Pictures

I thought that I would share just a few of my Christmas pictures as I am editing them and planning out that December Daily album that I will finish at some point! haha. I promise that I am going to start collecting things for next years album and I am starting on it in October when Ali Edwards starts posting ideas and instructions! Someone please hold me to that okay? Alright, enough getting down on myself for unfinished projects, here is my tree to start off with...
So this Christmas for us was not ideal. Although we had lots of fun and enjoyed having our family around us in our new house and I personally loved watching the kids all open their gifts. Neil ended up with a migraine by 10:30 in the morning and went to bed until 1 or 2 in the afternoon and I for some reason got a fever that caused me to sleep through Christmas dinner as I slept it off! But here is the one picture of me and the only evidence that I was actually there that day...
The boys tore through all of their gifts with lightning speeed... and Great Grandma tried to keep up with the destruction that they left behind... hehehe....
Neil and I got the girls their own iPod shuffles. Pink for Kaley and blue for Madison, Nanny got them these American Girl bathrobes and slippers plus matching ones for their dolls. Let's just say, they were two very happy girls!
Here is just a glimpse of the crazy chaos that I love about our Christmas mornings... we love it!
Thanks to our family for such a great Christmas Day (more pictures will come later) and thank you for putting up with us! Have a great holiday Monday!

Thursday, January 13, 2011

Beach Trip Layouts & Cards

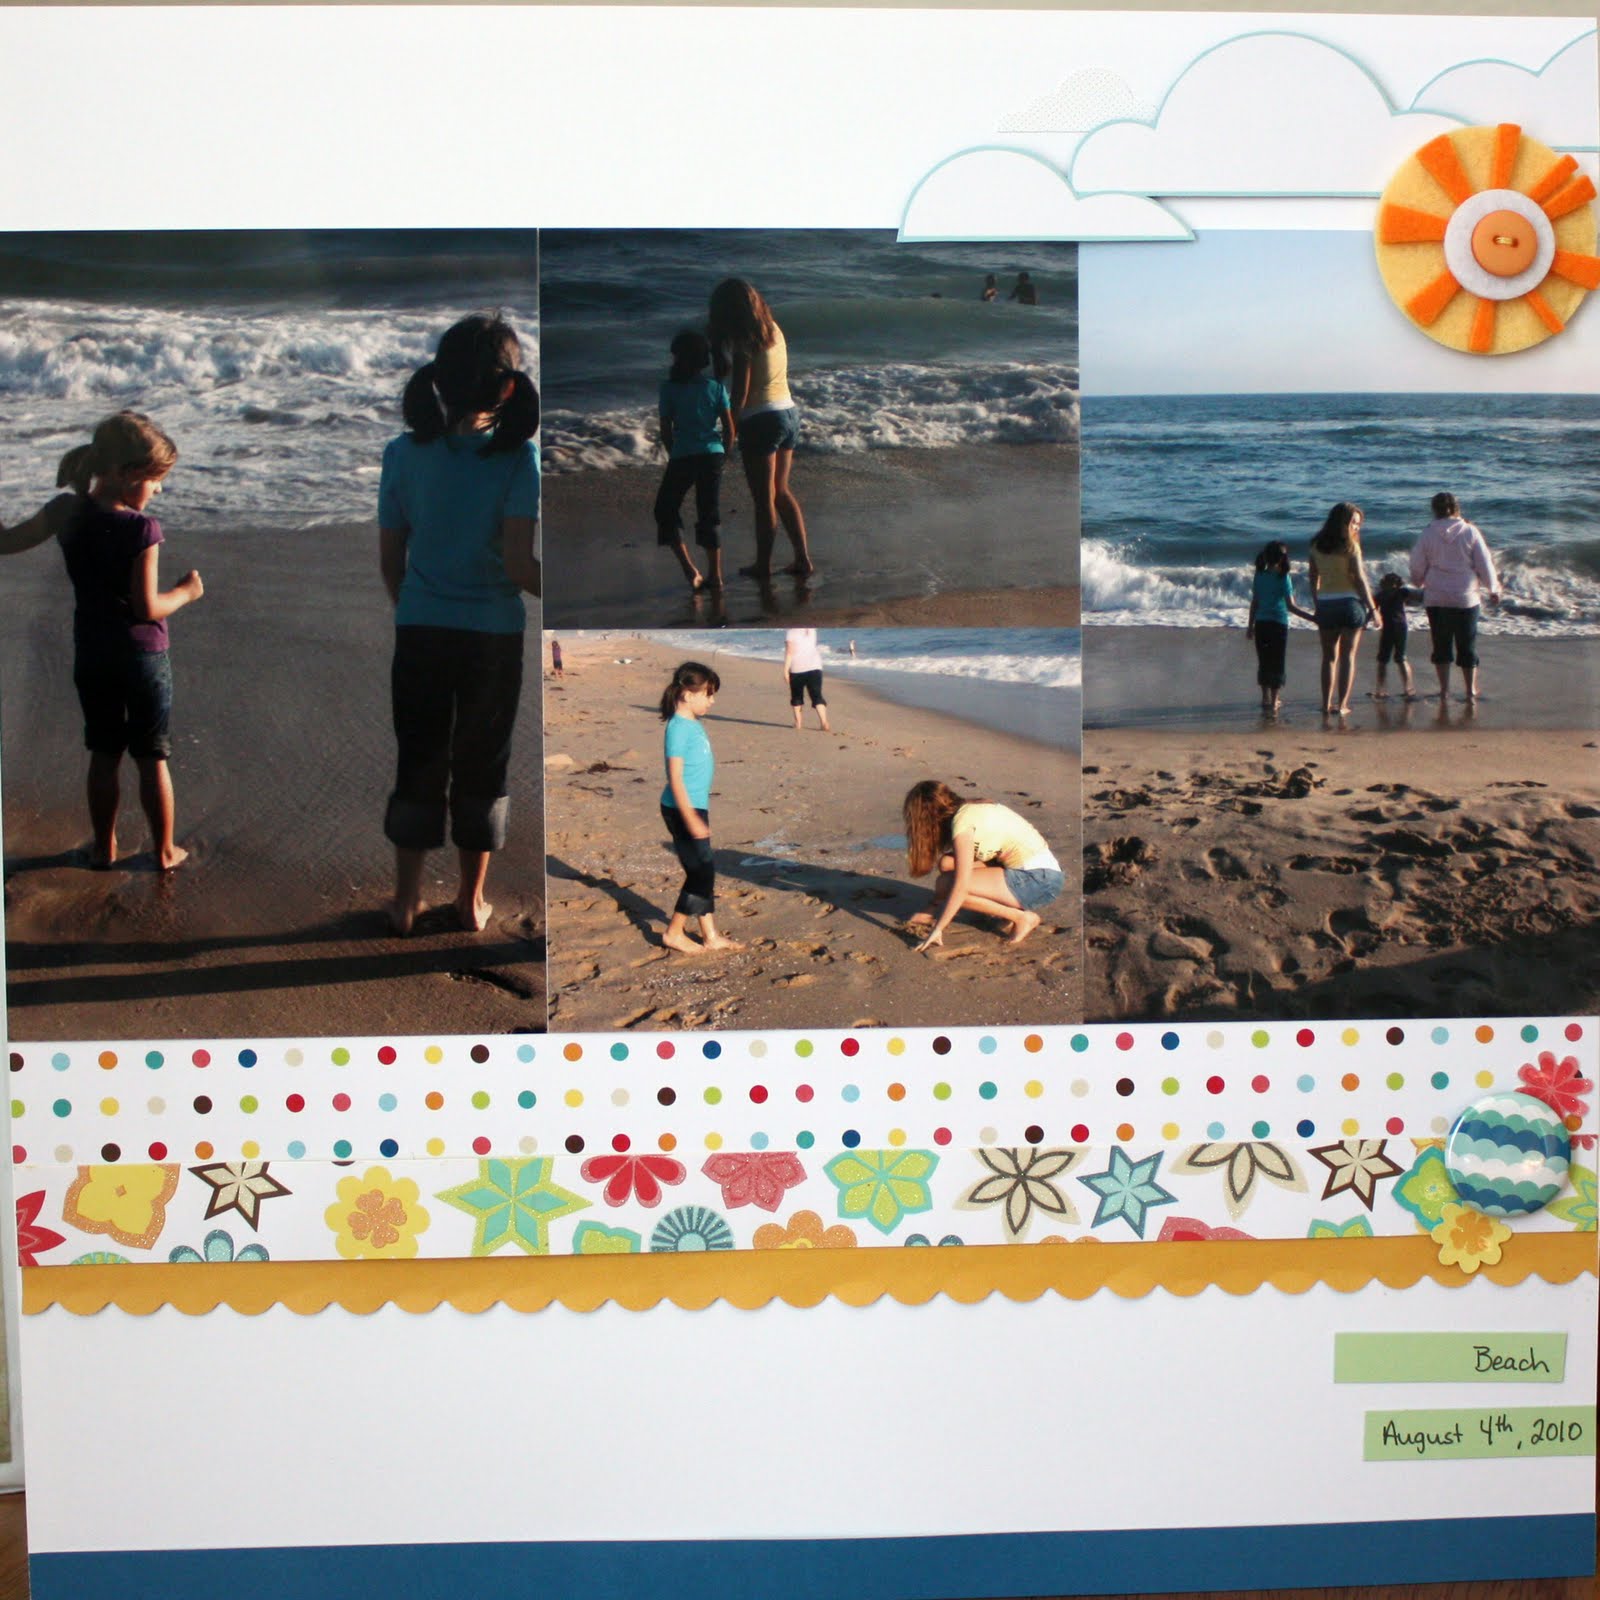
Neil had a youth trip to the beach last August and we decided to take the girls with us. It is not very often that we get to take them to the beach and there is no chance of taking the boys right now! (oh the headache just thinking about that!) I did not take a change of clothes for the girls because we were just going down there for the evening to BBQ burgers and roast marshmallows over a huge fire, so I told them that they could not get all wet and sandy... well, that did not work because they went from just feeling the waves against their feet to rolling up their jeans, to full on playing in the sand. They survived the night although wet, tired and covered in sand but at least they had a good time!
So here is the layout for Kaley. She really did spend a lot of time building this sandcastle and I loved watching her.
I knew that I had to use that photo of just the sandcastle and it worked perfectly for the title.
These pictures came out really good even though I only had my point and shoot camera with me.
Here is Madison's layout, she really was cute just standing there watching the waves. And the girls loved hanging out with Bethany and Candace from the youth group.
The Heat Wave line from American Crafts is fun to work with. The colors are bright and fun and the patterns are clean and simple. And one of my favorite things is the coordinating solids on the back of each of them.
Apparently I still haven't filled in what beach we were at since when I did this layout I couldn't remember which beach it was! Oops! I will have to do that before I put this into her album or else it will never get done.
When I get a collection out to work with (which I usually like to work in collections because it makes it easier to match things) I am trying to get in the habit of making at least one card with it before I put it away. It makes sense right? I already have all of the papers, embellishments, scraps, and odds and ends out and spread across my counter. So I made this one and then had some bigger scraps left over and so I made another one too!

It doesn't look like it in this picture but the dots and the brads are brown and the stamp is black. For some reason here it all looks black.
Well, I hope that I made you long for days at the beach! Don't worry, summer will be here before you know it!

Wednesday, January 12, 2011

A Peek at my Maui book

I thought that I would go completely out of order right now... surprise! I wanted to share a couple of my Maui trip layouts, although later I will share some more and the method to my madness on such a massive project... another day, another day.
I love this two page layout about one of our favorite places in all of Maui, the Nakalele blowhole. It was such a cool thing to sit back and watch and these SEI papers went perfectly with these pictures. But one of my favorite things is the texture net-like paper by SEI. It adds just the right amount of texture without being overpowering. In fact you can barely see it in this picture! It is mostly up at the top, I cut a scalloped edge to it.
These are some of the general pictures from our West Maui drive. Definitely our favorite part of the week. More of those great SEI papers and even the stamps are from their travel stamp set.
Well, that's it for today. Tomorrow I will share some beach layouts and a couple of cards using some great American Crafts Heat Wave. See... I told you, totally random! It's January and I'm scrapbooking the beach. I guess that's where my mind is right now, thinking of lazy days on the beach listening to the waves. Ok that's enough dreaming!

Pages